


The Complete Guide to Snowshoeing

The purpose of snowshoes is quite simple, they provide you with traction and stability while hiking in snow or on icy terrain.
Why You Should Start Snowshoeing
Snowshoeing is an excellent way to enjoy your favorite trails and explore new ones during the snowy winter months. Visiting your favorite spring, summer, and fall hiking trails in the winter provides a new perspective as the landscape is transformed into a snowy winter wonderland.
Snowshoeing provides an excellent low-impact aerobic exercise that is perfect for those who are looking for a new way to keep active in the winter. There is no need to succumb to the cold winter weather and become over-reliant on your stationary bike or treadmill. Get outside all year round!
Snowshoeing is easy to learn and it is safer and cheaper than skiing or snowboarding; it does not require expensive gear or overpriced ski lift tickets.
People of any age and skill level can enjoy a snowshoeing trek. Whether you are trekking around the cul-de-sac with the kids or through a snow-filled valley, snowshoeing is a great way to build memories with the people you love.
Starting Your Snowshoeing Journey
In this article you will learn:
- Snowshoeing lingo
- Where you can go snowshoeing
- What you need to bring when you go snowshoeing
- Basic techniques of snowshoeing on flat, uphill, and downhill terrain
- How to get up after falling
- Safety tips
Snowshoeing Lingo
Activity specific-jargon for outdoor gear can be confusing, here are the most important snowshoeing terms you should know:
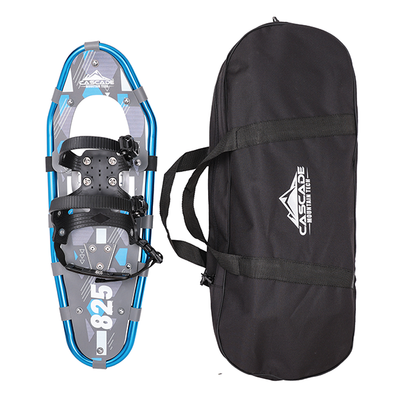
Binding: The device that attaches your hiking boot to the snowshoe.
Crampon: The device found under the binding on the snowshoe. It allows you to gain traction on steep or slippery slopes.
Decking: The platform of the snowshoe that attaches to the frame. This is what keeps you above the snow while snowshoeing. Or in snowshoe terms, the decking gives you the ability to float on the snow.
Backcountry: Anywhere that is not a designated trail. Usually known as “off the beaten path"
Where To Go Snowshoeing
There are plenty of places to find amazing snowshoeing spots. Many of your favorite hiking trails in the spring, summer, or fall are transformed into snowshoeing trails in the winter. Most national forests and state parks remain open during the winter time; just a bit of research will expand your hiking territory. Additionally, you can check out cross-country ski resorts. It is likely that these resorts will charge a fee to use their trail system, but a small fee may be worth having access to well-groomed trails, especially if you are just starting out. In some states there are sno-parks, which require a permit to access.

What You Need For Snowshoeing
Snowshoes can be adjusted to fit almost any type of hiking boot so wear comfortable waterproof boots that are warm. Equally important as your boots is your choice of socks; synthetic socks are the best option. Be sure to carry an extra pair in case your first get soaked.
Dress in layers and choose clothing that is designed for cold and wet conditions. It is best to avoid cotton because if it gets wet it will not keep you warm. Instead, wear synthetic style clothing because they will retain heat and keep you warm even when you get wet.
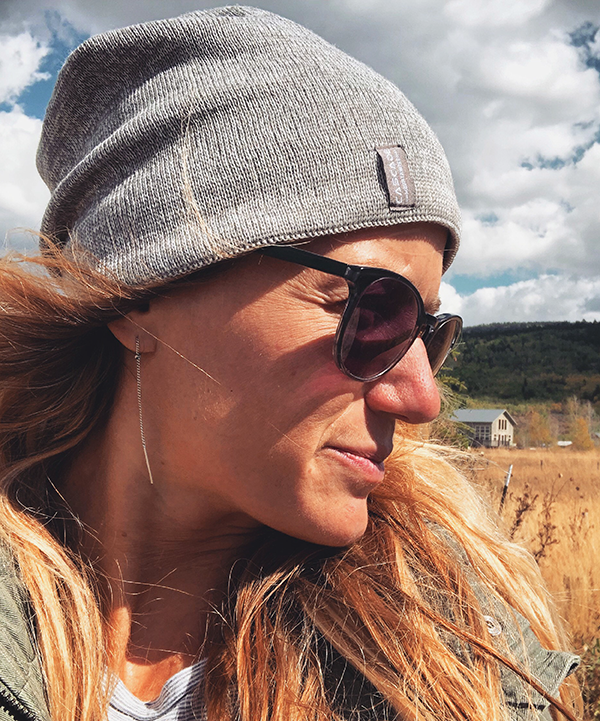
Do not forget your sunglasses or sunscreen! It may seem odd to wear sunglasses and sunscreen in the winter time, but UV rays are actually more intense when reflected off of the snow, so you will want to protect yourself from sunburns and snow blindness.
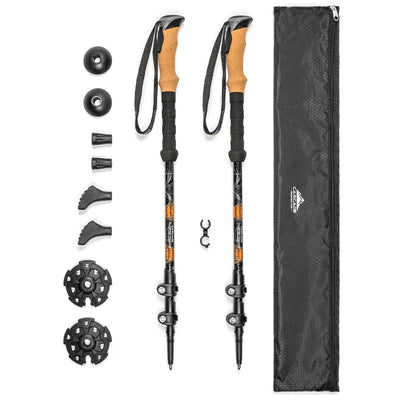
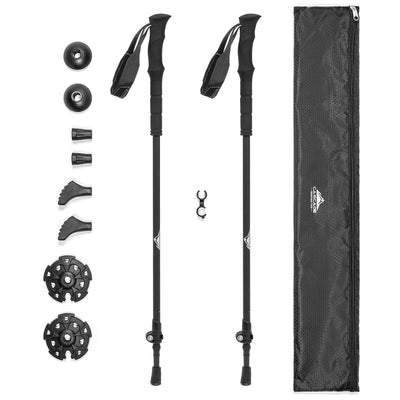
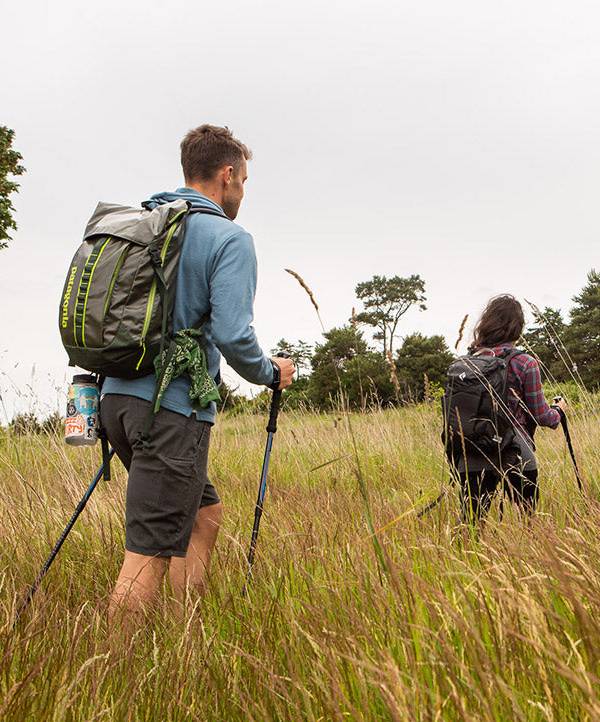
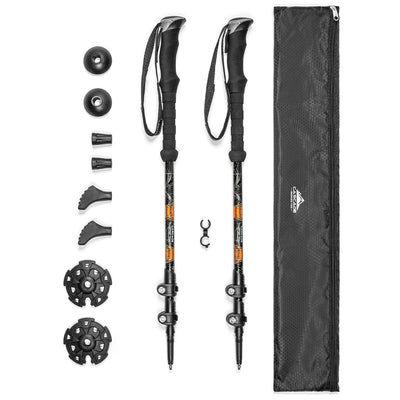
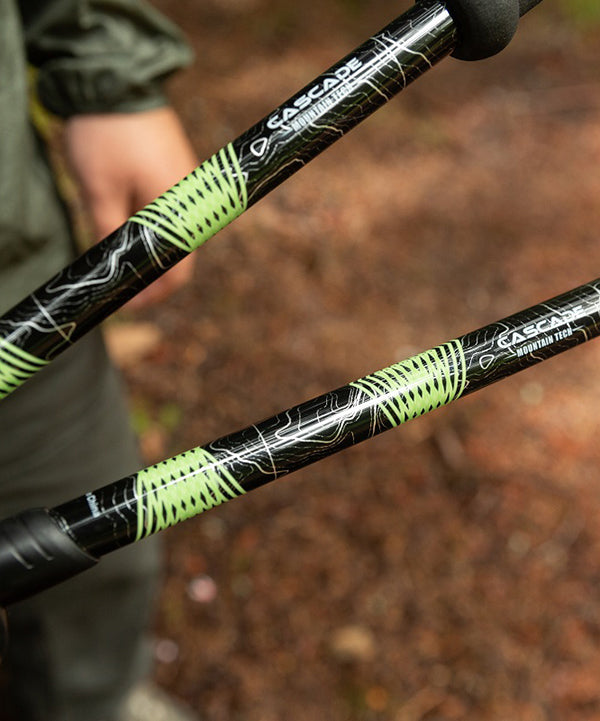
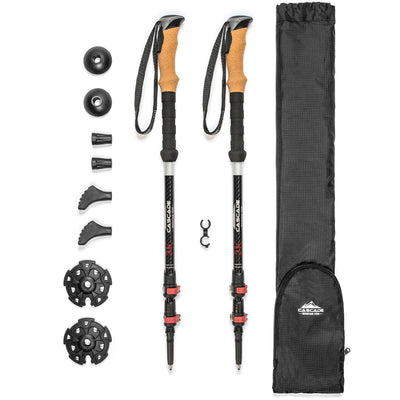
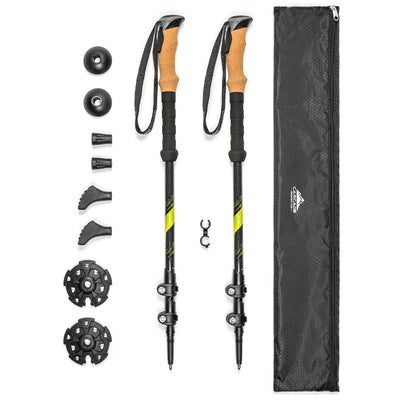
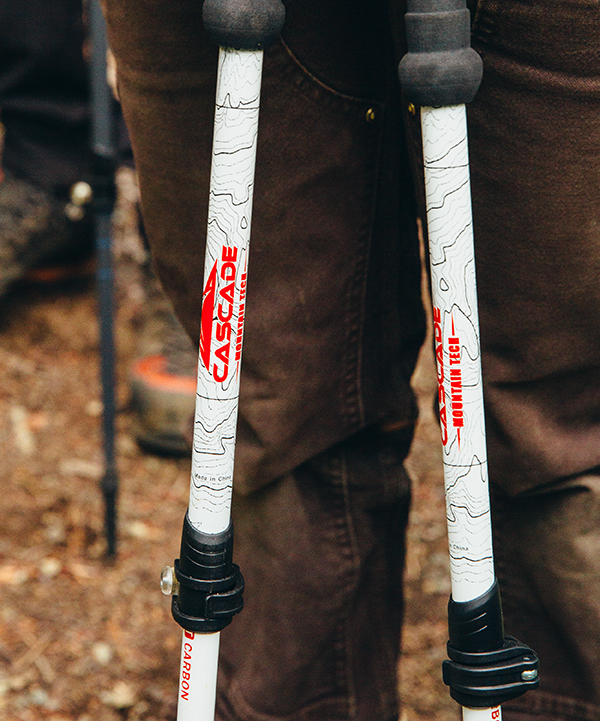
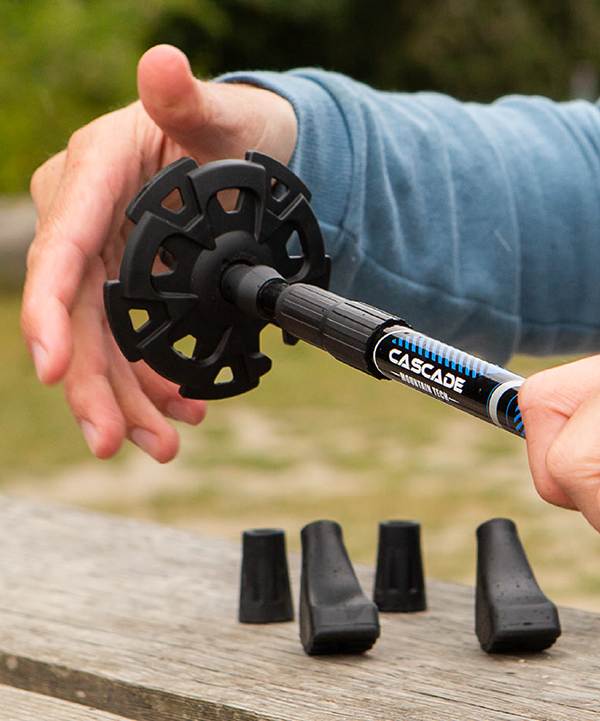
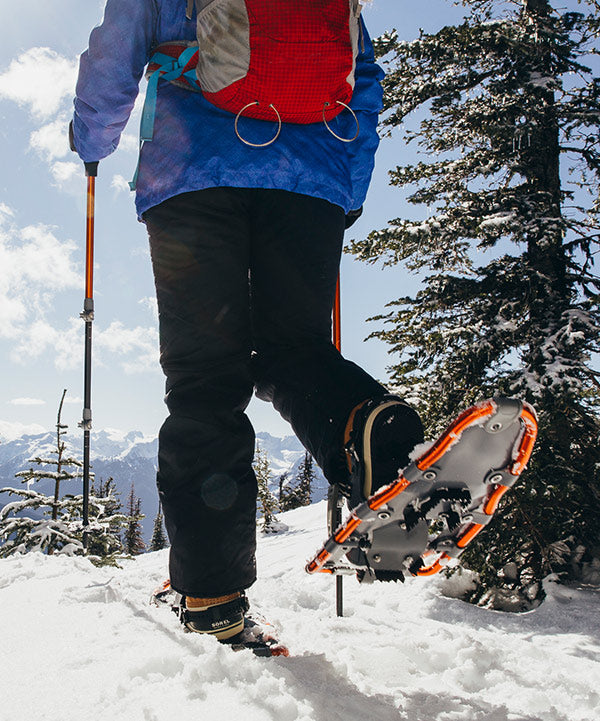
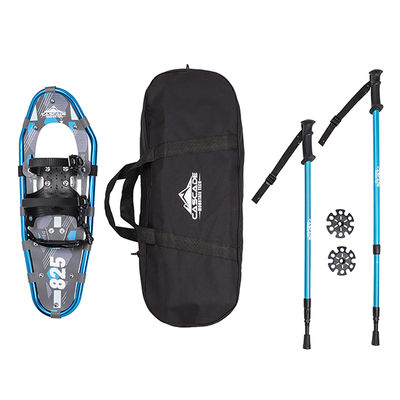
Bring adjustable trekking poles with snow baskets. Check out our inventory of trekking poles to find the pair most suitable for you.
Basic Techniques Of Snowshoeing
Flat Terrain
While walking on flat terrain your stride should be a bit wider than when you are hiking.
Ascending
In order to snowshoe uphill, a few techniques can be used. The one you use will depend on the conditions.
In powdery snow, the kick-step technique is the best approach. Lift your foot and kick into the snow with the toe of the snowshoe to create a step; this could take more than one kick to create a solid enough surface to stand on. If your kick-step is creating a deep hole in the snow, these conditions are not ideal so you will need to look for a different route.
On firmer, hardpack snow, the kick-step technique will not be possible. Instead, you will use the snowshoe crampons and cleats for traction. For moderate inclines, you can use the technique called stepping-up; keep your weight on your toes while stepping into the snow. If the incline is steep then you will need to use the technique called side-stepping. As the name suggests you will position your body sideways as you ascend the hill. The focus for this technique is to kick the side edge of the snowshoe into the snow in order to create a step; don’t worry about your pace, this technique is meant to be executed slowly.
If at any time you feel that the slope is too steep, head back down and find another route that is easier.
Descending
This is where poles come in handy as they provide support by increasing your balance and control as you descend. Always adjust your poles to be a bit longer when descending.
While descending keep your knees slightly bent and your weight slightly back. Take your time with each stride and make sure you plant your heel first as you step. Depending on how steep the decline is you may never fully rotate your weight to your toe. If you feel like you are going to slip or fall forward just sit down.
Getting up after a fall
Inevitably you will fall, it will not happen often, but it is the nature of the sport. You will find that falling most often occurs while descending. Always try to fall toward the uphill side (forward when ascending and backwards then descending).
Before you start to stand up make sure that your head is on the uphill side and your feet are pointing straight downhill. First, bring your knees to your chest. Second, press off the slope to come up to your knees. Third, you will then shift your weight onto your snowshoes to stand up.
If you have poles you can use them to press off the slope and to stabilize yourself as you stand up. We cannot stress enough how much easier trekking poles make your snowshoeing experience!
Safety Tips
Always stay within the limits of your knowledge, conditioning, the environment and your gear. When you are first starting to snowshoe it is best to use established trails and to go with other people. Once you become more comfortable you can start to adventure off trail. If you do decide to snowshoe alone make sure you let someone know where you plan to go and how long you plan to be there for; this allows them to notify the authorities with reliable information in case it is necessary. Make sure you stick to your plan!
Always check your gear before going out for a trek. Be sure that nothing is broken or on the verge of breaking. If you suspect that you need to replace a component of your gear you can find an inventory of individual replacement parts on our website.
If you are snowshoeing in the backcountry, you should be comfortable in navigating off established trails. Unfortunately, avalanches are a reality. For this reason if you are going into the backcountry it is important that you know avalanche safety.
Always stay hydrated. Even though you may not feel thirsty during cold-weather activities, it is important to remain hydrated to keep your brain and muscles functioning at their optimal level.
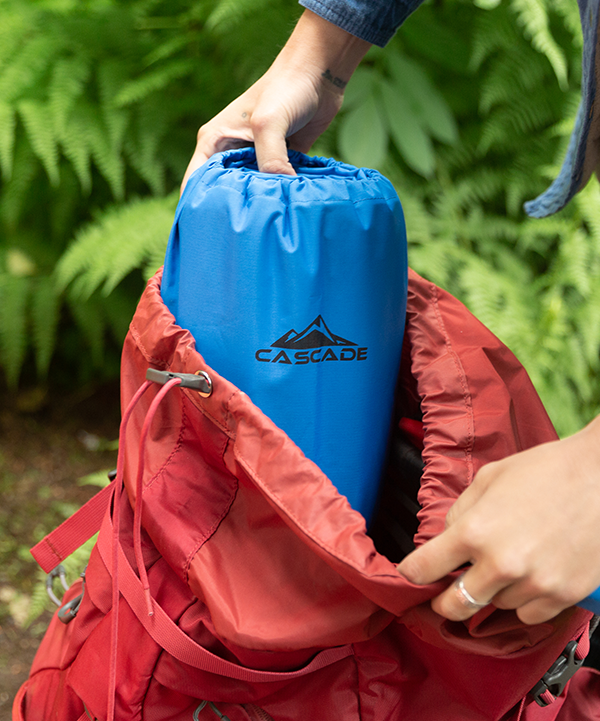
Always carry extra layers. The weather could change drastically and leave you wet and cold. By carrying extra layers you can ensure that you remain warm and dry regardless of how the weather changes. We recommend your hiking pack for snowshoeing is a bit bigger than your normal hiking pack given the need for more gear.
The Best Snowshoes For This Winter Season
If you’ve made it this far you're ready to explore snow-filled trails and valleys, but in order to do this with ease and comfort you will first need to pick the perfect snowshoe for you. Luckily, we have several options for you to choose from. Click here to check them out!

Disclaimer
Remember: Safety is always your responsibility. No article on the internet can replace proper instruction and experience— the information provided in this article is solely intended as supplemental information. Make sure you are equipped with the necessary skills and gear and have a full understanding of outdoor safety requirements before you engage in any outdoors activity.


Leave a comment